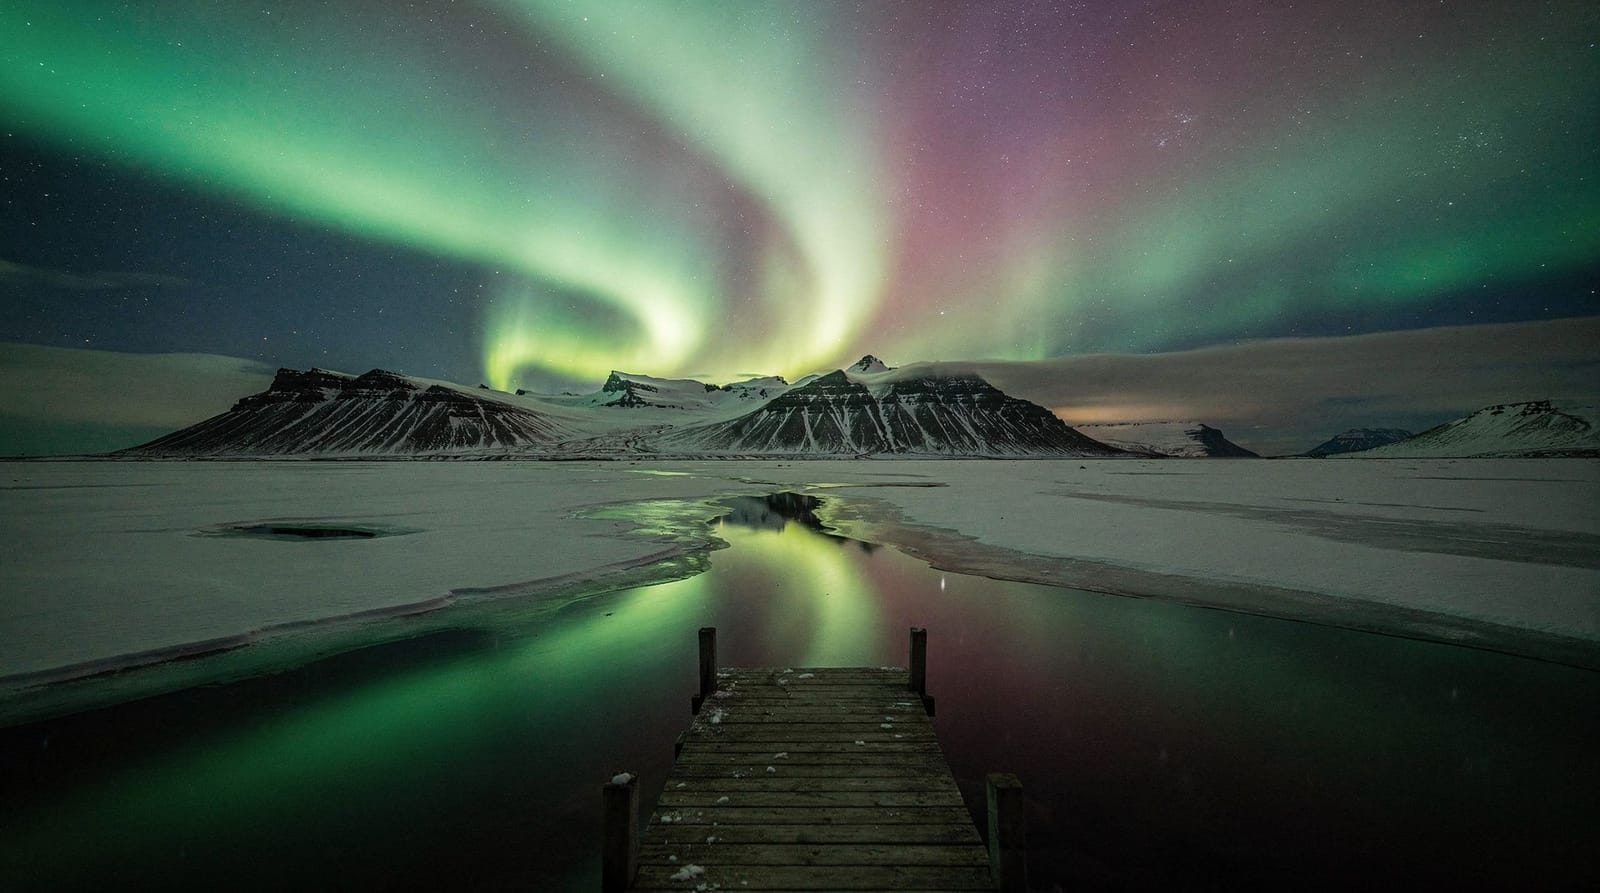
Northern lights photography in Iceland — settings, gear, and locations
Reykjavik: Northern Lights guided tour photo shoot
What camera settings should I use for northern lights photography in Iceland?
Start with ISO 1600–3200, aperture f/2.8 or wider, and a shutter speed of 10–20 seconds. Use manual focus set to infinity (verify with the viewfinder — autofocus fails in the dark). A tripod is non-negotiable. Adjust ISO and shutter to match the speed of the display — fast-moving auroras need a shorter shutter to avoid blur.
Understanding aurora brightness before you set up
Northern lights vary enormously in intensity. A faint Kp 2 display on the horizon is a dim greenish smear barely visible to the naked eye. A Kp 6 storm overhead is bright enough to cast shadows, pulsing through green, red, and purple in seconds. Your camera settings need to adapt to this range.
The common mistake is using settings optimised for a strong display when you have a weak one, or vice versa. A 30-second exposure at ISO 6400 during a Kp 6 storm will produce a white overexposed mess. A 30-second shutter at ISO 800 during a Kp 2 display will produce a dark frame with nothing visible.
The practical rule: start at ISO 1600, f/2.8, 15 seconds and adjust from there. Check the first frame on your camera’s screen, zoom into the histogram, and correct.
Essential gear for Iceland aurora photography
Camera body
Any mirrorless or DSLR with full manual control works. Full-frame sensors (Sony A7 series, Nikon Z6/Z7, Canon R6/R5) perform better at high ISO values — less noise at ISO 3200 than crop sensors. For aurora photography specifically, a camera with good ISO 3200–6400 performance is more important than megapixel count.
Entry-level crop-sensor cameras (Canon 250D, Nikon D3500, Fujifilm XT-30) produce perfectly good aurora shots; you simply have to accept slightly more noise at high ISO.
Lens: fast wide-angle is the priority
A 14–24mm f/2.8 or equivalent is the standard choice. Primes like the Samyang 14mm f/2.8 cost under €300 and produce excellent aurora shots. Going below f/2.8 (f/1.8 or f/1.4) allows shorter exposures and less star trailing — beneficial for wide compositions with bright stars.
Avoid kit zooms (18–55mm f/3.5–5.6) for aurora photography. At f/5.6 you either need ISO 6400+ or shutter speeds over 30 seconds.
Tripod
Not optional. Use a tripod rated for wind. In Iceland’s coastal locations, gusts of 40–60 km/h are common in winter. A light travel tripod will vibrate in these conditions, producing blurred images.
Extras that matter in Iceland’s winter
- Lens cloth or microfiber cloth: fog, sleet, and sea spray will hit your front element. Keep one accessible in an outer pocket.
- Spare batteries (×2): Lithium battery capacity drops by 30–50% in temperatures below -5°C. Keep spare batteries in an inner jacket pocket.
- Hand warmers: your fingers control the camera. At -10°C with wind, ungloved hands become nonfunctional within minutes.
- Red headlamp: white light kills your night vision; red preserves it while allowing you to change settings.
Camera settings starting point
| Condition | ISO | Aperture | Shutter |
|---|---|---|---|
| Faint smear (Kp 1–2) | 3200 | f/2.8 | 20–25 sec |
| Moderate display (Kp 3–4) | 1600–3200 | f/2.8 | 10–15 sec |
| Active display with movement | 1600 | f/2.0–f/2.8 | 5–10 sec |
| Strong storm with pulsing (Kp 6+) | 800–1600 | f/2.8 | 3–8 sec |
White balance: set manually to 3500–4500K. Auto white balance will attempt to correct the green cast, stripping the aurora’s colour. Tungsten (3200K) often produces cooler, more accurate results.
File format: RAW is strongly preferred. JPEG aurora shots lose significant shadow and highlight detail that RAW can recover.
Focus technique in the dark
- During the day (or at dusk), aim your lens at a distant object (mountain, horizon) and focus until sharp.
- Tape the focus ring with electrical tape or gaffer tape to prevent accidental movement.
- Alternatively: enable live view, zoom to 10x magnification on the brightest visible star, and manually turn the focus ring until the star is as small and sharp as possible.
- Never use autofocus at night — the system will hunt and fail, leaving you with blurred shots.
A common error specific to wide primes: the infinity mark on the barrel is often slightly off. Always confirm with a distant ground light, not the marked infinity position.
Best locations for aurora photography in Iceland
Jökulsárlón and Diamond Beach
Jökulsárlón is the most-photographed aurora location in Iceland. The floating icebergs provide a foreground that is impossible to replicate elsewhere. The lagoon is completely dark. Access the parking lot off Route 1 — it is open 24 hours. The only downside is the distance from Reykjavík (375 km), which makes this practical only if you are already on the Ring Road or South Coast.
Diamond Beach across the road offers ice chunks on black sand as a foreground, with the open North Atlantic to the south.
Kirkjufell mountain (Snæfellsnes)
Kirkjufell is Iceland’s most photographed mountain and one of the country’s iconic aurora foregrounds. The waterfall Kirkjufellsfoss in front of it adds a dynamic element. Access is via a small parking area off Route 54 — no fee, open in winter. The mountain faces north, making it ideal for capturing aurora over the fjord.
For drone rules at this and other locations, see drone rules Iceland.
Þingvellir National Park
The rift valley and lake at Þingvellir provide a wide, unobstructed horizon. The Silfra fissure and the þingvallavatn lake shore are both accessible and dark.
Seljalandsfoss and Skógafoss waterfalls at night
Seljalandsfoss has a path that goes behind the waterfall — an unusual perspective for aurora compositions. At night, the waterfall is unlit and the roar of the water is atmospheric. Warning: the path behind the falls is icy in winter and potentially dangerous without microspikes.
Skógafoss is wider and more photogenic than Seljalandsfoss for pure waterfall shots. The stairs to the viewing platform on the right side of the falls provide elevation.
Northern Lights guided tour with photo shoot — professional photographer assists with your shotsComposition principles
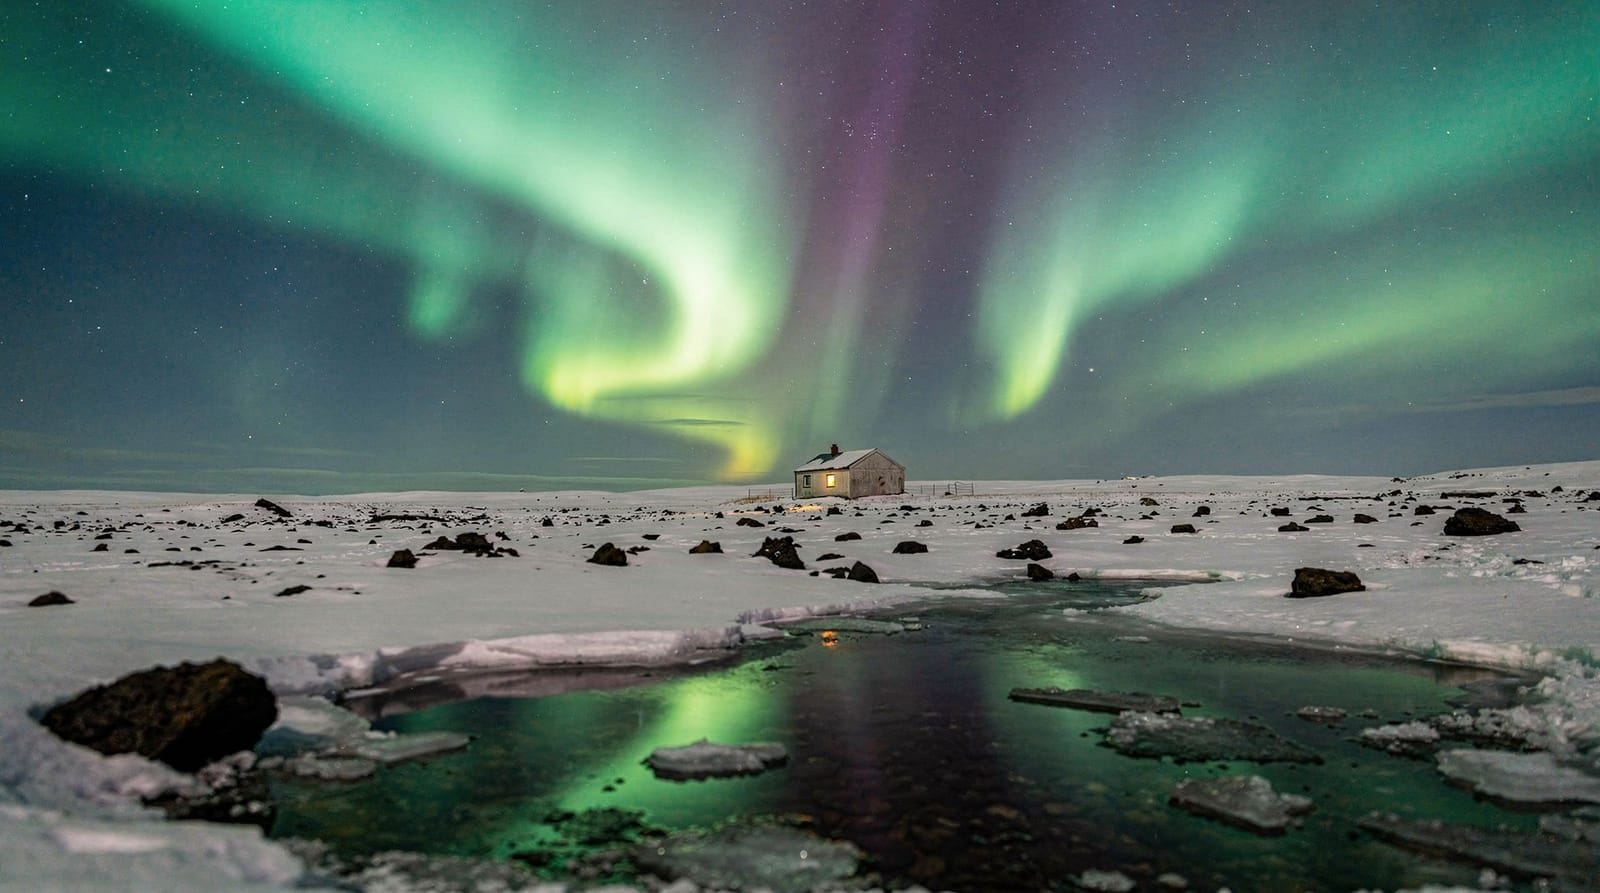
Use a foreground. An aurora shot with nothing but sky is less compelling than one anchoring the lights above a mountain, waterfall, church, or coastline. Iceland’s landscape provides extraordinary options within 30–40 minutes of any main road.
Mind the horizon line. A tilted horizon is the most common composition error in wide-angle aurora shots. Use your camera’s electronic level.
Include scale. A person (with a headlamp on) in the frame provides scale and narrative. The headlamp creates a small warm light that contrasts naturally with the green sky.
Avoid foreground clutter. Fence posts, power lines, road signs, and parked cars in the frame are hard to remove in post-processing. Spend 2 minutes walking around your spot before committing to a position.
Post-processing basics
RAW files from aurora shoots typically need:
- Shadows lifted slightly to reveal foreground detail
- Noise reduction (Lightroom’s AI Denoise at 40–70% works well for ISO 3200+ shots)
- Whites and Highlights reduced slightly to prevent the brightest aurora bands from blowing out
- Saturation increased modestly on the green channel — Icelandic auroras often film less vivid than they look to the eye
Avoid over-saturating. The “aurora neon” look common on social media is processed well beyond what the human eye saw.
Photography-focused tours
Several Reykjavík operators specifically cater to photographers. These tours typically have smaller groups (4–8 people), longer stops at each location, guides who understand camera settings, and occasionally a professional photographer on board.
Small group northern lights tour — more time at each location, guide helps with camera settingsRAW post-processing workflow for aurora images
Aurora photography produces RAW files that look significantly different from the finished image. The in-camera JPEG preview uses aggressive noise reduction and auto white balance that destroys colour accuracy. Working in RAW with a proper workflow recovers detail and produces a result closer to what you actually saw.
Step 1: White balance correction. Auto white balance in aurora shots typically produces a grey or teal-grey sky with green pushed toward yellow. Set white balance manually in your RAW editor to approximately 3800–4200 K. This restores the accurate green hue of the aurora while keeping the foreground neutral. If there is significant sodium streetlight (orange glow) in the image, a slight green tint to the white balance helps cancel it.
Step 2: Noise reduction. At ISO 1600–6400, colour noise is the primary issue. In Lightroom or Lightroom Classic, use the Denoise AI tool at 40–60% strength — this preserves star detail better than the older Luminance slider. In Capture One, use the Noise slider at medium and reduce colour noise specifically. Do not over-smooth: stars and the aurora’s texture should remain visible after noise reduction.
Step 3: Exposure and tones. Lift shadows to reveal foreground detail — most aurora shots are under-exposed in the ground because the sky is properly exposed. Use the Shadows slider in Lightroom at +30 to +60. Reduce Highlights if the brightest aurora bands are blown out. Blacks can remain at 0 — clipping a few absolute black pixels in a dark landscape is acceptable.
Step 4: Colour grading. Icelandic auroras often appear less saturated in RAW than to the naked eye. Increase Vibrance (not Saturation) on the overall image by 15–25%. Then in the HSL panel, boost Hue/Saturation specifically in the Green and Aqua channels where aurora colour lives. Be cautious — social media is full of over-saturated “neon” aurora images that look nothing like real displays. A modest boost that makes the image look vivid rather than artificial is the target.
Step 5: Sharpening. Apply output sharpening at 40–60% with a masking value of 70–80 (hold Alt/Option while moving the Masking slider to see what is being sharpened — you want stars and landscape edges, not the smooth sky). This maintains star sharpness without adding noise to the sky.
For foreground-sky blending: if you took a separate foreground exposure (longer shutter, or light-painted foreground), blend using a luminosity mask or simple layer masking in Photoshop. The blending line should follow the natural horizon, not be a straight horizontal cut. Matching noise levels between the two exposures is the trickiest part — reduce the higher-ISO layer’s noise more aggressively.
Compositional principles for aurora photography
Aurora is a sky phenomenon, but the best aurora photographs are landscape photographs with aurora as a sky element. The compositional rules that make landscape photography compelling apply directly here — with some specific considerations.
The rule of thirds and the sky-to-ground ratio. Aurora photographs conventionally place the horizon on the lower third of the frame, giving two-thirds to sky. This is correct when the aurora is active and filling the sky. For faint aurora near the horizon, placing the horizon higher in the frame and giving more space to an interesting foreground can be more effective than a sky-heavy composition.
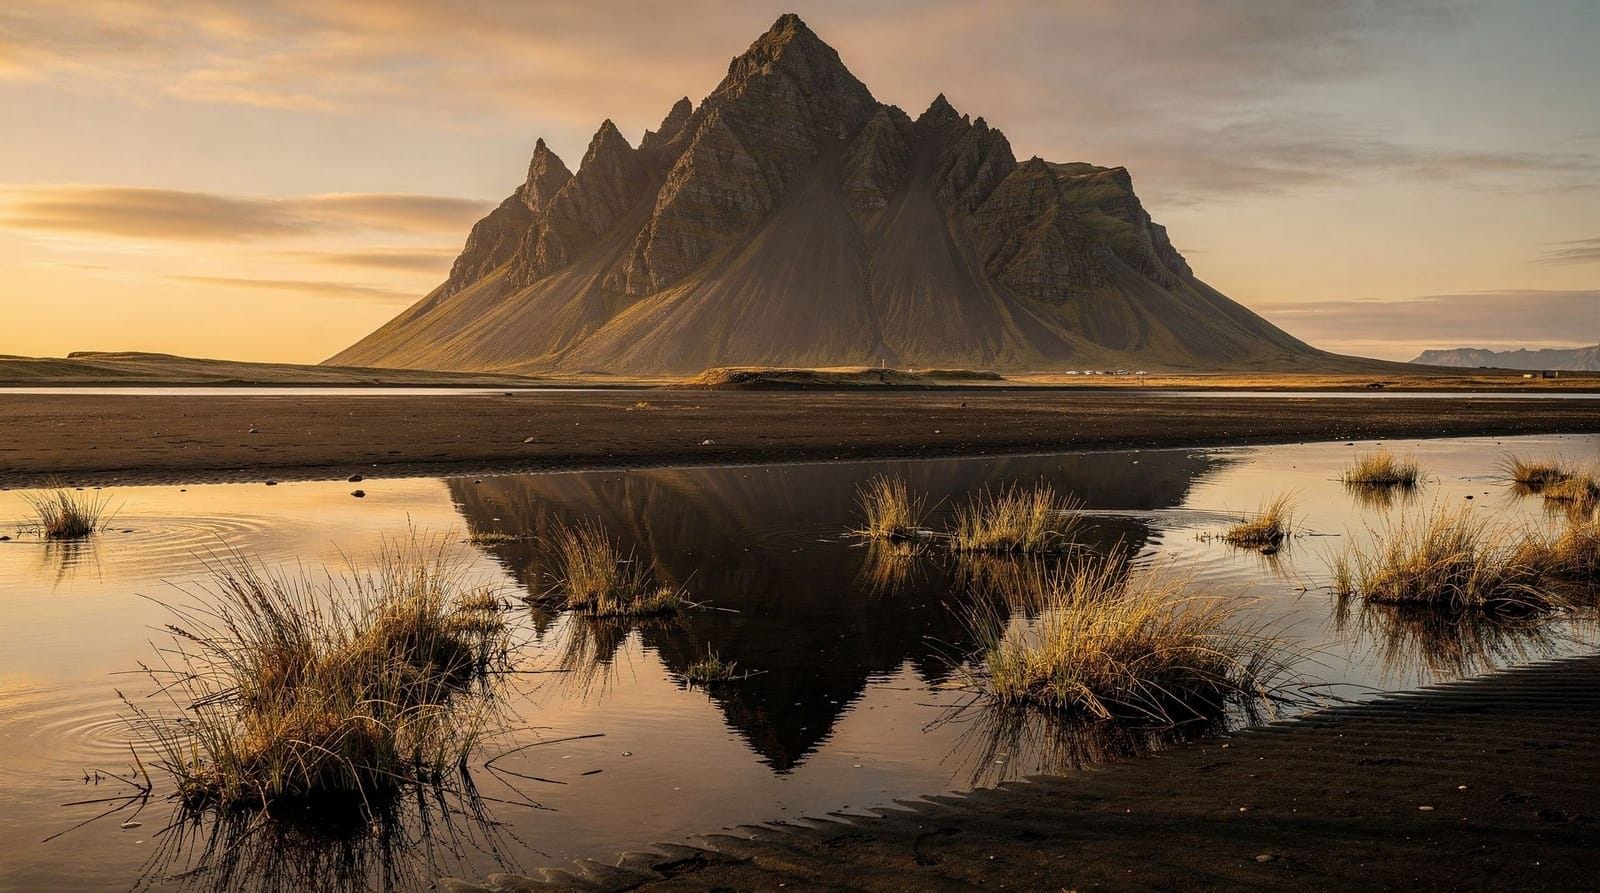
Foreground hierarchy. Iceland offers extraordinary foreground subjects within short drives of any road. Rank foreground subjects not by their fame but by how strongly they contrast with the aurora: icebergs at Jökulsárlón contrast in colour (blue-white ice against green sky); Kirkjufellsfoss at Kirkjufell contrasts in movement (still mountain against moving light). A person with a headlamp contrasts in temperature (warm yellow against cool green). Select your foreground based on this contrast principle rather than just “what is nearby.”
Leading lines. Iceland’s rivers, coastlines, and lava field paths provide natural leading lines that draw the eye from foreground into the sky. The Reykjanes Peninsula coastline at night has a clear horizon line that naturally leads the eye east or west. Route 1 itself — with its reflective surface in wet conditions — can serve as a leading line toward the aurora on the horizon.
Vertical compositions. Wide-angle aurora shots are almost universally horizontal. A vertical composition of a strong aurora overhead — shot with a 16–20mm lens pointed straight up or slightly north — produces an entirely different image. The aurora fills the full vertical extent of the frame, and a strip of landscape occupies the bottom fifth. This format is underused because it is uncomfortable to shoot (neck strain from pointing the camera up) but produces memorable images.
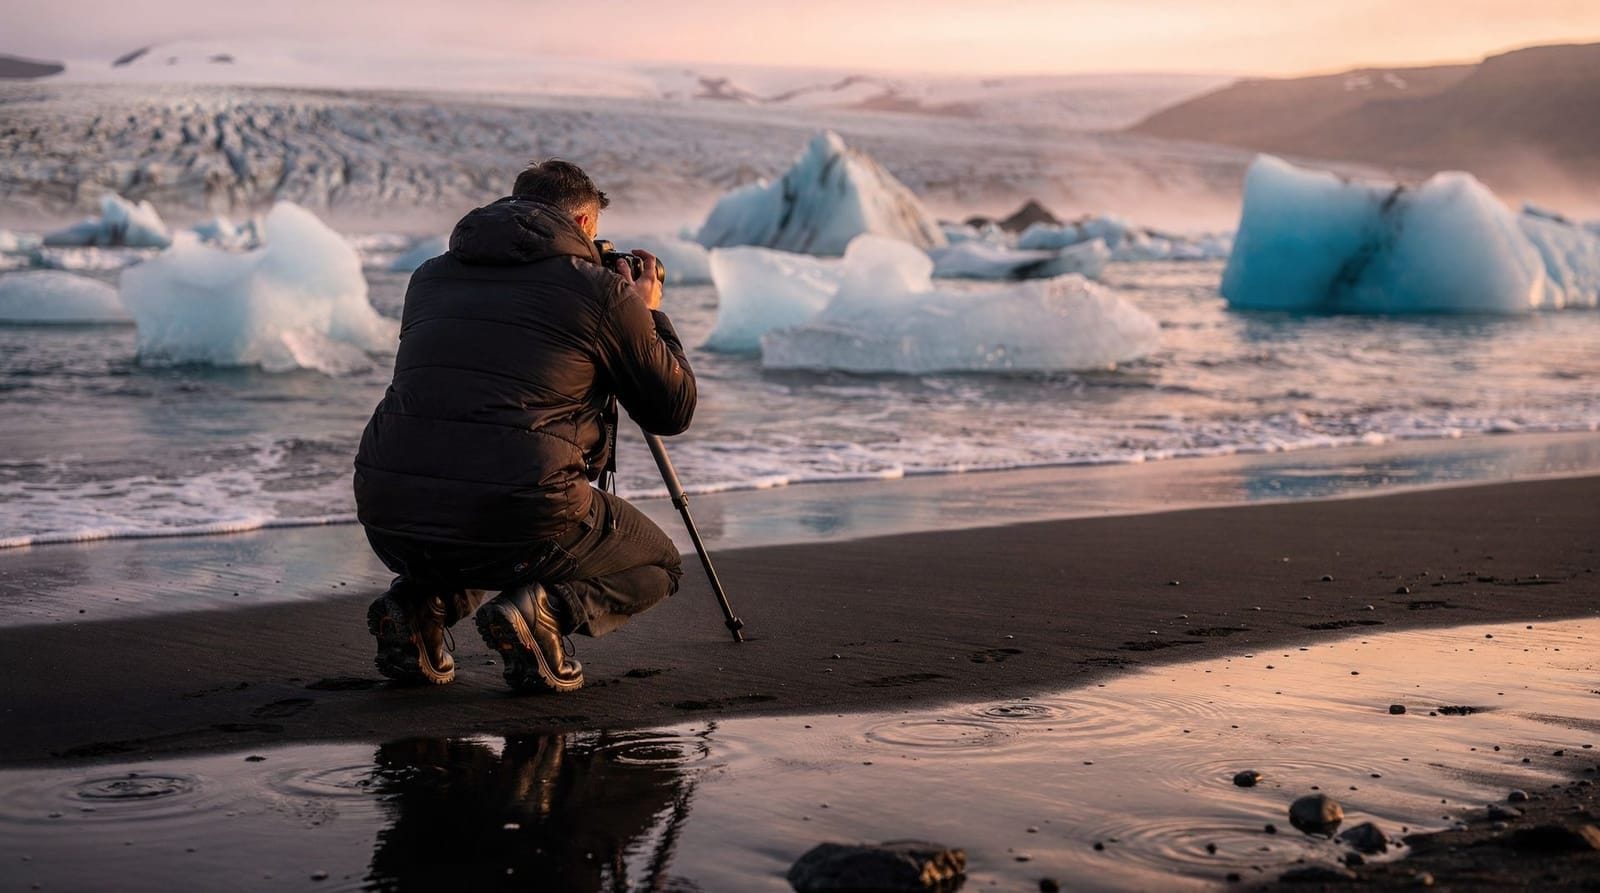
Dealing with cold on a photography shoot
Camera operation in Iceland’s winter conditions is a skill that is learned rather than innate. The challenges compound: cold fingers slow button operation, fogged viewfinders obscure composition, batteries drain, and wet weather rolls in without warning.
Clothing system for aurora photography. The key is that photographers stand still — often for 20–40 minutes at a single location. Static cold exposure is far more intense than cold encountered while hiking. Your minimum clothing system: thermal base layer (merino wool or synthetic, not cotton), fleece or down mid-layer, wind-and-waterproof outer shell, insulated waterproof boots (rated to -20°C), wool hat covering ears and neck, liner gloves inside insulated waterproof mittens. The mitten-over-liner system lets you pull your hand out of the mitten for 30-second camera operation tasks while keeping the mitten accessible to rewarm immediately.
Battery management. Lithium battery capacity drops approximately 30–50% at -5°C and can drop 70% at -15°C. Keep spare batteries in a breast pocket next to your body. Rotate them: one in the camera, one warming in your pocket. Never leave a battery in a cold camera overnight — the lithium chemistry does not perform well after prolonged cold without use.
Lens fogging on the return. When you bring a cold camera back into a warm car or building, condensation forms on and inside the lens. Seal the entire camera in a resealable plastic bag before entering warmth — the condensation forms on the bag’s exterior rather than the equipment. Let the camera warm gradually inside the sealed bag for 20–30 minutes before opening. Skipping this step can cause visible internal fogging that takes hours to clear.
Wind and tripod vibration. Iceland’s coastal wind regularly causes camera shake at shutter speeds of 4+ seconds even with a heavy tripod. Hang your camera bag from the tripod’s centre hook as ballast. Use a cable release to avoid touching the tripod during exposure. On very windy nights, consider shooting at 5–8 second exposures rather than 15–20 seconds — the aurora will look slightly brighter and less smooth, but the images will be sharp.
Frequently asked questions about aurora photography in Iceland
Do I need ND filters for northern lights photography?
No. Neutral density filters reduce the light reaching the sensor and are counterproductive for low-light aurora photography. They are useful for long-exposure waterfall photography in daylight — see long-exposure waterfalls — but not for auroras.
Can I use a 50mm lens for northern lights?
A 50mm lens captures a very narrow slice of sky and misses the full arc of most aurora displays. It works for close-in shots of the most intense part of the display, but a wider lens is more versatile. If 50mm is all you have, it is better than nothing.
Should I use a star tracker for aurora photography?
Star trackers compensate for Earth’s rotation to prevent star trails during long exposures. They are unnecessary for aurora photography — the aurora itself moves too fast to benefit from tracking, and most exposures are 5–20 seconds where trailing is minimal anyway.
Is it worth hiring a photography guide for northern lights?
A photography guide cannot guarantee the aurora will appear or that the sky will clear. What they offer is knowledge of locations with good compositions, assistance with settings, and patience to wait with you. If you are new to manual shooting in the dark, the guidance is genuinely useful for the first session. Experienced photographers often prefer to self-drive and compose freely.
Frequently asked questions about Northern lights photography in Iceland
Can I photograph the northern lights with a smartphone?
Modern smartphones (iPhone 15 Pro, Pixel 8 Pro, Samsung S24 Ultra) can photograph auroras using Night Mode or Astrophoto modes. Results are passable for social media but lack the dynamic range and resolution of a mirrorless or DSLR. A small smartphone tripod or a brace on a solid surface is essential — handheld night photos will be blurred.What lens is best for northern lights photography?
A wide-angle fast lens — 14–24mm on full-frame, 10–18mm on crop sensor, maximum aperture f/1.4–f/2.8. The wider the aperture, the shorter your shutter speed can be (reducing trailing stars). The 16–35mm f/2.8 and 14mm f/1.8 primes are popular choices. Any zoom lens slower than f/4 will produce noticeably darker results.How do I focus in the dark for aurora shots?
During daylight, tape your lens at infinity focus after confirming sharp focus on a distant object. At night, use live view magnified on a bright star or distant light and manually adjust focus until sharp. Do not rely on the infinity mark engraved on the lens barrel — many modern lenses focus past infinity.Do I need a special tripod for Iceland's winter conditions?
A tripod rated for sub-zero temperatures is ideal — cheap plastic ball heads crack in the cold. Carbon fibre tripods are lighter and less cold to touch. In Iceland's wind, you need a tripod with a center column hook where you can hang your camera bag as ballast. Ultra-light travel tripods will vibrate in wind.What time of year produces the most photogenic auroras in Iceland?
Auroras themselves look the same regardless of season. The photographic context changes by season: September–October give partial darkness over a still-green landscape; December–February give long dark windows with possible snow cover and dramatic frost patterns; March provides reasonable darkness and the possibility of combined snow and green fields in the same frame.How do I expose for both foreground and aurora in the same shot?
The aurora is bright enough for a single exposure at ISO 1600–3200 with a 15-second shutter. The foreground illuminated by moonlight or city glow will also register. If the foreground is fully dark, take a second exposure with a longer shutter (60 seconds) or headlamp-lit foreground and blend in post-processing. Graduated ND filters are not useful for aurora photography.
Top experiences
Bookable activities with verified prices and instant confirmation on GetYourGuide.
Top experiences
Best-rated activities across GetYourGuide and Viator.

Private 2-Day Glacier Lagoon, Ice Cave and Northern Lights
- Viator

Reykjavik Private Northern Lights Tour with Pro Photographer
- Viator

Private Aurora Hunt in Iceland with Professional Photos
- Viator

Northern Lights Classic MiniBus Tour from Akureyri
- Viator

Northern Lights Jeep Tour - Icelandic Guide | Photos | Cocoa
- Viator
Akureyri: From Akureyri Northern Lights tour
- GetYourGuide